Introduction
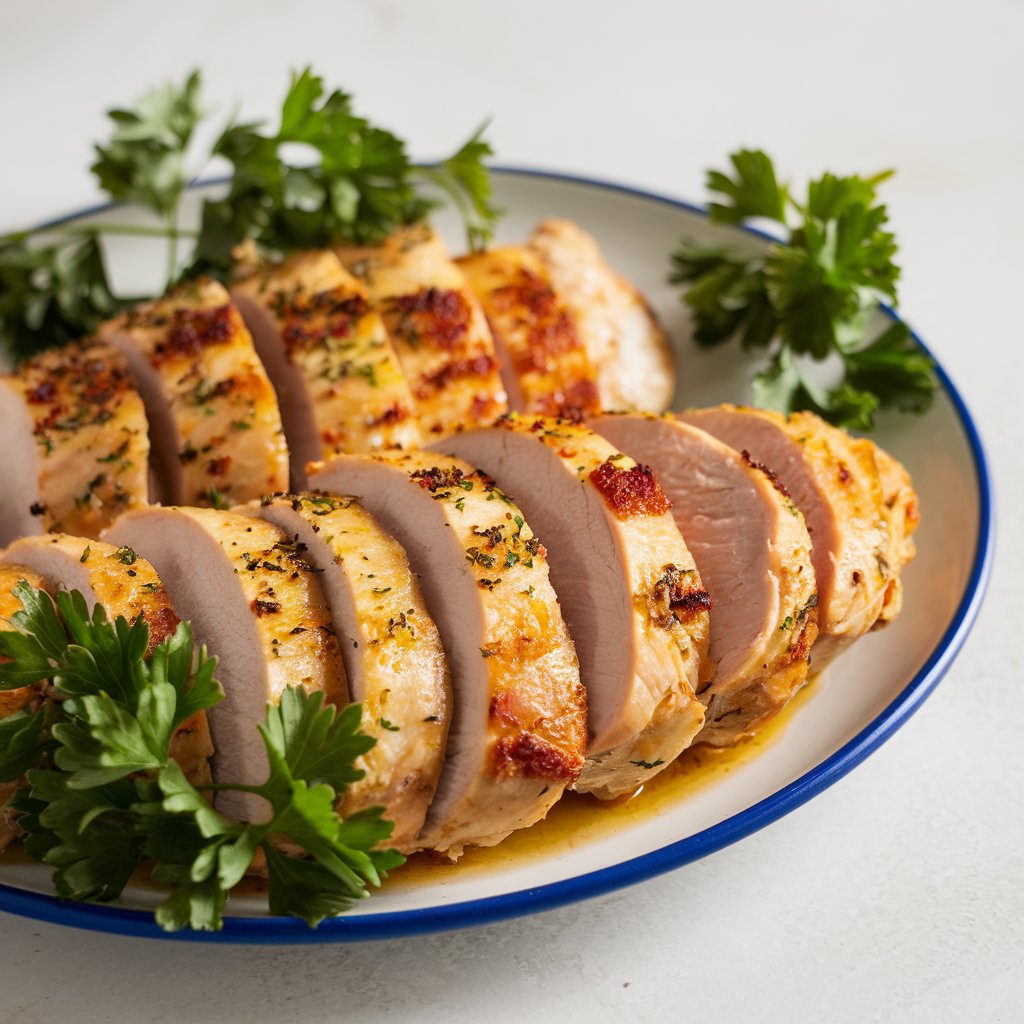
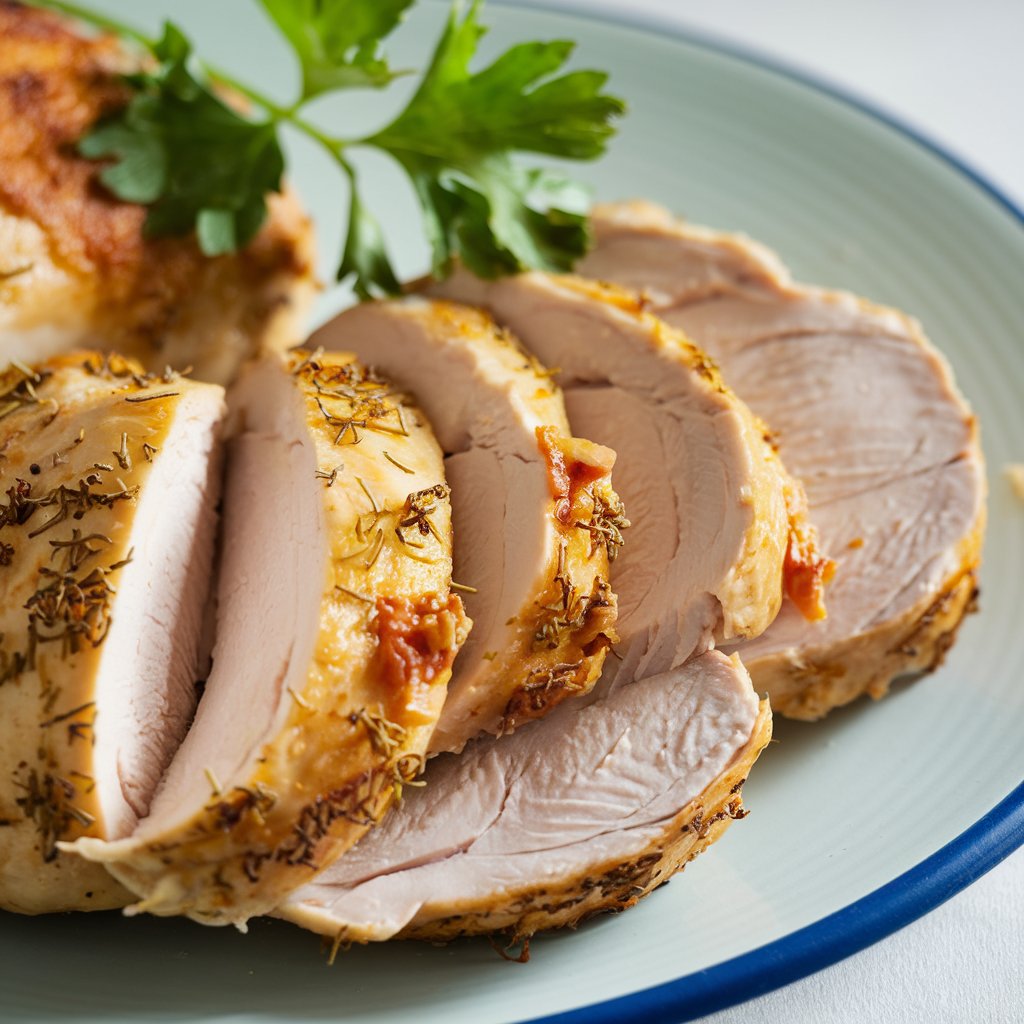
Baking thin-sliced chicken breast to perfection requires knowing the right time and temperature. If you’ve ever wondered how long to bake thin sliced chicken breast to ensure it stays juicy and flavorful, you’re in the right place. In this guide, we’ll cover the ideal baking time, temperature, and tips for the best results.
Thin sliced chicken breasts are a game changer in the kitchen! Whether you’re whipping up a quick weekday dinner or prepping meals for the week, knowing the right baking time and technique is essential. This guide will walk you through everything you need to know, from the best baking temperatures to foolproof tips for juicy, flavorful results.
Table of contents
Introduction
When it comes to chicken recipes, baking thin sliced chicken breast is one of the most straightforward options. It’s quick, versatile, and perfect for anyone looking to prepare a healthy, low fat meal. But let’s be honest: getting it just right can be tricky! Undercooking can leave it unsafe to eat, while overcooking turns it into a dry, rubbery mess.
So, how long does it actually take to bake thin sliced chicken breast? And what can you do to ensure every bite is tender and delicious? In this article, we’ll answer these questions and more, giving you a complete roadmap to success. Ready to become a chicken-baking pro? Let’s dive in!
Why Thin Sliced Chicken Breast is a Popular Choice
Health Benefits of Thin Sliced Chicken Breast
Thin sliced chicken breast is a lean protein packed with essential nutrients like vitamins B6 and B12, phosphorus, and selenium. It’s perfect for anyone aiming for a high-protein, low-fat diet, making it a staple for fitness enthusiasts and families alike. Plus, the thin cut reduces cooking time, which helps retain nutrients often lost during long cooking processes.
Cooking Versatility and Convenience
Another reason thin sliced chicken breast is a hit? Its versatility! You can bake it, grill it, sauté it, or toss it into a salad or wrap. And let’s not forget the time-saving benefits. With thin cuts, you can have a meal on the table in under 30 minutes. Whether you’re making a creamy chicken pasta or prepping grilled chicken tacos, thin slices fit right in.
The Basics of Baking Thin Sliced Chicken Breast
The Basics of Baking Thin Sliced Chicken Breast
If you’re wondering how to nail that perfectly baked thin sliced chicken breast every time, you’re in the right place. Before we jump into the step-by-step guide, it’s essential to understand a few foundational principles. Trust me, these tips will save you from countless dry or unevenly cooked chicken disasters! 🐓

Ideal Baking Temperature for Thin Sliced Chicken Breast
The perfect temperature for baking thin sliced chicken breast is between 375°F (190°C) and 400°F (204°C). Why this range? At these temperatures, the chicken cooks evenly without drying out. Lower temperatures often lead to undercooking, while higher temperatures can scorch the outer layer before the inside is fully cooked.
But here’s the secret: always tailor the temperature based on your oven’s efficiency. Some ovens run hotter or cooler than others, so an oven thermometer can be your best friend here. 🎯
Importance of Using an Oven Thermometer
Speaking of thermometers, do you know if your oven’s temperature dial is accurate? Most ovens are off by about 10-20 degrees. This can be the difference between juicy, tender chicken and something that feels like shoe leather. A simple oven thermometer ensures you’re actually cooking at the correct temperature. They’re affordable and easy to use, so it’s worth investing in one.
Factors That Affect Cooking Time
Baking thin sliced chicken breast isn’t just about setting a timer and walking away. A few critical factors can influence how long you need to bake your chicken:
Chicken Thickness
While we’re focusing on thin slices, the exact thickness matters. A slice that’s slightly thicker will require more time than a paper-thin cut. A good rule of thumb is to check for doneness at the 15-minute mark and adjust as needed.
Oven Type and Efficiency
Every oven is different. Convection ovens, for instance, circulate hot air more efficiently, often reducing cooking time by a few minutes. If you’re using a traditional oven, stick to the upper end of recommended baking times.
Marination and Seasoning
Did you marinate the chicken? Wet marinades can add moisture but may slightly extend cooking times. Dry rubs, on the other hand, create a delicious crust while typically cooking faster. Either way, the seasoning adds layers of flavor you don’t want to skip!
Pro Tip: For maximum flavor, let the chicken sit at room temperature for 20-30 minutes before baking. This ensures even cooking. 🕒
- How Long to Bake Thin Chicken Breast
- Thin Chicken Breast Recipes
- ecipe for Alice Springs Chicken
- Woman Alice Springs Chicken?
Step-by-Step Instructions for Baking Thin Sliced Chicken Breast
Now that you’ve got the basics down, let’s get to the fun part: actually baking the chicken!
Preparing the Chicken
Before anything else, you need to prep your chicken properly. Start by patting each slice dry with a paper towel. Why? Removing excess moisture helps the seasonings stick and prevents the chicken from steaming in the oven.
Steps to Prep:
- Trim the Fat: Use kitchen shears to cut off any excess fat or tendons.
- Season Generously: Use a blend of salt, pepper, garlic powder, paprika, and dried herbs. Don’t be afraid to get creative!
- Optional Marination: For added flavor, marinate the chicken in olive oil, lemon juice, and spices for at least 30 minutes.
Choosing the Right Bakeware
Selecting the right baking dish can make or break your chicken’s texture. Use a shallow, rimmed baking sheet or a glass dish. Why? A shallow dish allows for even heat distribution, while deeper pans can trap steam, making the chicken soggy.
Preheating the Oven: Why It’s Essential
Here’s a baking rule you should never skip: always preheat your oven. Baking in a cold oven results in uneven cooking and longer bake times. Set your oven to your desired temperature typically 375°F or 400°F and wait until it’s fully preheated before putting the chicken in.
Baking Times for Perfect Results
Now we’re at the heart of the process: determining the ideal baking time.
At 375°F (190°C)
Bake your thin sliced chicken breast for 18-20 minutes. This temperature is perfect if you’re looking for a balance between a tender interior and lightly golden edges.
At 400°F (204°C)
At this slightly higher temperature, bake for 15-18 minutes. The extra heat creates a more robust crust, locking in juices while shaving a few minutes off the cooking time.
Pro Tip: Flip the chicken halfway through baking for even browning.
Using a Meat Thermometer to Confirm Doneness
The easiest way to avoid over- or under-cooking is by using a meat thermometer. Stick the probe into the thickest part of the chicken breast without touching the pan and look for an internal temperature of 165°F (74°C).
If you don’t have a thermometer, slice into one piece and check for clear juices and no pink flesh. 🍴
Block Quote:
“Don’t guess when it comes to chicken. A simple thermometer is the key to juicy, flavorful meals every time.”
Common Problems and Solutions + Additional Tips
Common Problems and Solutions
Baking thin sliced chicken breast might sound easy, but things don’t always go as planned. Here are some common issues you might encounter and how to fix them. 🛠️
Chicken Turning Out Dry: Causes and Fixes
Dry chicken is probably the most common complaint when baking thin slices. But why does it happen?
Causes:
- Overcooking: Even a few extra minutes can make thin slices dry and tough.
- Lack of Fat: Chicken breast is naturally lean, and baking it without adding moisture can lead to dryness.
Fixes:
- Use a Meat Thermometer: As mentioned earlier, an internal temperature of 165°F (74°C) is your magic number.
- Brine the Chicken: Soak the slices in a simple saltwater solution for 15-30 minutes before baking. This locks in moisture.
- Add Fat: Brush the chicken with olive oil or melted butter before baking. It not only prevents sticking but also keeps the meat juicy. 🧈
Uneven Cooking: What You Can Do
It’s frustrating to cut into one piece of chicken only to find it raw while another slice is overcooked. Why does this happen?
Causes:
- Uneven Thickness: Thin slices that aren’t uniformly cut can cook at different rates.
- Crowded Baking Dish: Overloading your dish prevents heat from circulating evenly.
Fixes:
- Pound the Chicken: Place the slices between two sheets of plastic wrap and gently pound them to an even thickness with a meat mallet.
- Don’t Crowd the Pan: Give each piece of chicken its own space to ensure even heat distribution.
Pro Tip: A large baking sheet is ideal for cooking multiple slices.
Lack of Flavor: Tips for Seasoning
Sometimes, baked chicken can taste a bit… bland. Don’t worry it’s easy to fix!
Causes:
- Skipping the Seasoning: Relying on just salt and pepper can leave the chicken underwhelming.
- No Marinade Time: Flavors need time to penetrate the meat.
Fixes:
- Use Bold Seasonings: Combine spices like paprika, garlic powder, onion powder, and dried herbs for a well-rounded flavor.
- Let It Rest: After seasoning or marinating, allow the chicken to sit for 20-30 minutes.
- Finish with a Sauce: Serve with a flavorful sauce like honey mustard, barbecue, or a simple garlic butter drizzle. 🍯
Additional Tips for Perfectly Baked Chicken
For consistently perfect results, these additional tips will come in handy!
Resting the Chicken After Baking
This step is easy to skip, but resting the chicken is essential. Once you remove it from the oven, let it rest on the counter for 5-10 minutes before slicing. Resting allows the juices to redistribute throughout the meat, ensuring every bite is moist and flavorful.
Think of resting chicken like cooling cookies good things come to those who wait!
Pairing Suggestions: Sides and Sauces
Baked chicken is delicious on its own, but pairing it with the right sides can elevate your meal. Here are a few ideas:
- Vegetable Sides: Roasted broccoli, steamed asparagus, or mashed sweet potatoes. 🥦
- Grains: Serve with fluffy quinoa, wild rice, or buttery garlic noodles.
- Sauces: Drizzle with chimichurri, honey mustard, or a zesty lemon butter sauce.
How to Store Leftovers Properly
Got leftovers? Lucky you! Follow these storage tips to keep them fresh and tasty:
- Refrigerate Promptly: Place the chicken in an airtight container within 2 hours of cooking.
- Reheat Carefully: Use a microwave at 50% power or a low oven temperature to reheat without drying out the meat.
- Freeze for Later: Wrap slices tightly in plastic wrap and store in a freezer bag for up to 3 months.
Block Quote:
“Leftover chicken can be your best friend. Toss it into salads, sandwiches, or pasta for an effortless next-day meal!”
FAQs and Conclusion
FAQs
Baking thin sliced chicken breast raises a lot of questions, especially if you’re aiming for perfection. Let’s address some of the most frequently asked ones to clear up any confusion! 💡
What’s the Ideal Baking Temperature for Thin Sliced Chicken Breast?
The best baking temperature is between 375°F (190°C) and 400°F (204°C). These temperatures ensure the chicken cooks through evenly without drying out. For a slightly crispier finish, aim for the higher end of this range.
How Do You Know When It’s Done?
The most reliable way to check doneness is by using a meat thermometer. Insert the probe into the thickest part of the chicken; it’s fully cooked when the internal temperature reads 165°F (74°C). If you don’t have a thermometer, cut into a slice if the juices run clear and there’s no pink, you’re good to go!
Can You Bake Thin Sliced Chicken Breast From Frozen?
Yes, but it requires some adjustments. Add 5-7 minutes to the standard baking time and bake at 375°F (190°C) to ensure the chicken cooks evenly without burning. Be sure to separate frozen slices for even cooking. However, for the best results, thaw the chicken before baking.
Should You Cover the Chicken While Baking?
It depends on the texture you’re after. Covering the chicken with foil traps moisture, which is great if you want tender, steamed-like results. For a slightly crispy outer layer, bake uncovered.

How Long Should Chicken Rest After Baking?
Rest the chicken for 5-10 minutes after removing it from the oven. This step is critical as it allows the juices to redistribute, resulting in a juicier, more flavorful bite.
Conclusion: Master the Art of Baking Thin Sliced Chicken Breast
Baking thin sliced chicken breast doesn’t have to be a guessing game. With the right techniques, from choosing the right temperature to seasoning boldly, you can create perfectly tender, flavorful chicken every time. Whether you’re cooking for a family dinner or meal prepping for the week, these tips and tricks will ensure you nail it consistently.
So, the next time someone asks, “How long should I bake thin sliced chicken breast?” you’ll not only have the answer but also a treasure trove of helpful advice to share. Happy baking! 🥳
Title:
How Long to Bake Thin Sliced Chicken Breast: Perfect Cooking Time
Description:
Learn the ideal time to bake thin-sliced chicken breast for juicy, tender results every time. Quick, simple, and delicious cooking tips inside!
Focus:
How long to bake thin sliced chicken breast

