
Table of Contents
Hey there, frozen treat lovers! 👋 Ever scrolled through social media and seen those dreamy, perfectly scoopable homemade ice creams, sorbets, and milkshakes and thought, “How?!” Chances are, a lot of that magic is happening thanks to a cool kitchen gadget called the Ninja CREAMi. If you’ve got one of these bad boys, or you’re thinking about getting one, you’re in for a treat – literally! This isn’t just another ice cream maker; it’s like having your own personal ice cream shop on your countertop. 🤩
We’re about to dive deep into the world of ninja creami recipes. We’ll explore why this machine is so popular, get you started with some super simple recipes, tackle those head-scratching moments when things don’t go exactly as planned, and even unlock some next-level CREAMi secrets. Get ready to impress your friends and family with your newfound frozen dessert skills!
What’s the Big Deal with the Ninja CREAMi, Anyway?
So, what makes the Ninja CREAMi different from your grandma’s old-school ice cream maker that uses a rock salt bath? 🤔 The CREAMi uses a unique process called Creamify Technology™. Instead of churning a liquid base until it freezes, you freeze your base solid first, and then the CREAMi’s super-powered blade spins at high speed, literally shaving and transforming the frozen block into a smooth, creamy, dreamy texture. It’s pretty wild, and it opens up a whole new world of possibilities for frozen treats.
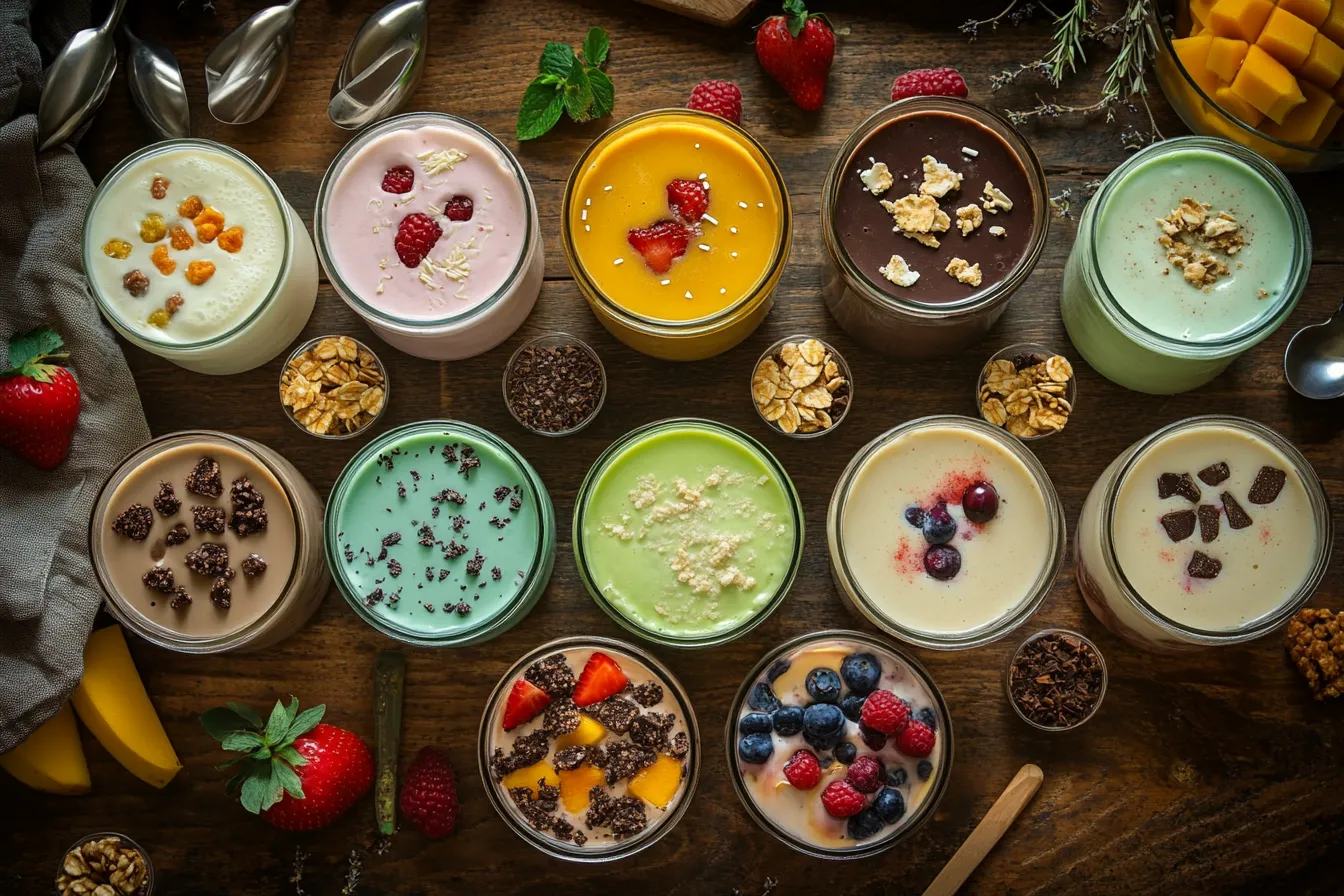
More Than Just Ice Cream: Exploring CREAMi Possibilities
One of the coolest things about the CREAMi is its versatility. You’re not just limited to traditional ice cream. Nope! You can whip up:.Chocolate Poke Cake
- **Classic Ice Cream:**當然 (Of course!), this is a staple. Creamy, rich, and just like your favorite scoop shop.
- Lite Ice Cream: Looking for something a little lighter? Use lower-fat milk or dairy-free options.
- Sorbet: Perfect for a refreshing, fruity, dairy-free treat. Just freeze fruit and liquid! 🍉🍊
- Gelato: A denser, often richer frozen dessert with less air than ice cream.
- Milkshakes: Yep, you can even use your CREAMi to make thick, delicious milkshakes.
- Smoothie Bowls: Thicker and colder than a regular smoothie, ready for all your favorite toppings.
- “Nice” Cream: Made purely from frozen fruit (usually bananas!), it’s a healthy and naturally sweet option.
See? The possibilities are practically endless!
Why Everyone’s Talking About the CREAMi Life
Why has the Ninja CREAMi taken the internet by storm? Well, besides making amazing frozen treats, it’s also:
- Super Easy: Once you get the hang of the freezing and spinning process, it’s really straightforward.
- Customizable: You are in complete control of your ingredients. Want less sugar? More protein? Vegan? Keto? You can do it all!
- Great for Healthy Treats: It makes it easy to create delicious desserts using whole fruits, yogurt, and protein powder. 💪🍎
- Less Waste: Make just what you need in a single pint.
It’s no wonder people are obsessed!
Getting Started: Your First Ninja CREAMi Adventures
Okay, so you’ve unboxed your shiny new Ninja CREAMi (or you’re about to!). It might look a little intimidating with all its parts, but trust me, it’s easy peasy. Before you start, make sure you read the manual and wash all the parts that will touch your food. Safety first! 😉
The Absolute Basics: What You Need to Know First
Here are a few golden rules for using your Ninja CREAMi:
- Freeze Solid: This is crucial! Your base mixture must be frozen completely solid and flat in the CREAMi pint for at least 24 hours. Anything less and you’ll end up with a slushy mess. 🧊
- Don’t Overfill: There’s a “Max Fill” line on the pint. Do NOT go over this line. The mixture expands as it freezes, and overfilling can damage the blade and the machine.
- Flat is Where It’s At: Make sure your pint freezes on a level surface in your freezer. If it freezes at an angle, the blade might have trouble spinning properly.
- The Outer Bowl and Lid: Always put the pint inside the outer bowl and secure the lid tightly before putting it in the machine. It won’t work otherwise!
- Listen to Your Machine: The CREAMi can be loud, but pay attention to any really strange noises. If something sounds wrong, stop the machine and check everything.
Your First Spin: An Easy Vanilla “Nice” Cream Recipe
Let’s try a super simple recipe to get you started. This is often called “nice” cream because it’s made from just frozen fruit!
Here’s what you’ll need:
| Ingredient | Quantity | Notes |
|---|---|---|
| Ripe Bananas | 2-3 | Peeled and sliced |
| Milk (of choice) | 1-2 tbsp | Optional, for smoother texture |
| Vanilla Extract | 1/2 tsp | Optional, for flavor |
Instructions:
- Peel and slice the ripe bananas. Place the slices in a single layer on a baking sheet lined with parchment paper and freeze until solid (a few hours).
- Once frozen solid, transfer the banana slices to a Ninja CREAMi pint up to the max fill line.
- (Optional) Add 1-2 tablespoons of milk and the vanilla extract to the pint.
- Put the lid on the pint, place the pint in the outer bowl, and secure the outer bowl lid.
- Place the assembly on the CREAMi motor base and twist the handle to lock it in place.
- Select the SORBET function. Yes, even though it’s creamy, the fruit-only base works best on the sorbet setting initially.
- Let the CREAMi work its magic!
- Once the cycle is done, open it up. It might look a little crumbly at first. Don’t worry, that’s normal! This is where the RE-SPIN button comes in handy. Add another tablespoon of milk (if you didn’t before, or if it still looks dry) and select RE-SPIN.
- After the re-spin, you should have a wonderfully smooth, soft-serve-like “nice” cream! If it’s still a bit powdery, you can do one more re-spin with another splash of liquid.
- Scoop and enjoy immediately! 😋
Making your first treat in the Ninja CREAMi is such a fun moment! Don’t be discouraged if the texture isn’t perfect on the first try. It takes a little practice and getting to know your machine and your freezer…Wendy’s Frosty Swirls Fusions
Freezing is Key: Don’t Rush the Magic!
We already mentioned it, but seriously, the freezing step is NON-NEGOTIABLE for a good CREAMi texture. Freezing for at least 24 hours ensures the base is uniformly solid. If your base isn’t frozen enough, you’ll likely end up with a slushy or liquidy mess instead of a scoopable treat. Patience, young grasshopper! Good things (and good ice cream) come to those who wait. 😉
Remember to freeze your pint on a flat surface so the top of the frozen block is even. This helps the blade do its job efficiently and reduces the chance of hitting an uneven surface, which can cause problems.
Deliciously Simple Ninja CREAMi Recipes to Try Now
Alright, are you ready to become a CREAMi recipe superstar? ✨ The beauty of this machine is how easily you can turn simple ingredients into incredible frozen desserts. Here are a few ideas to get your creative juices flowing!
Classic Creations: Recipes You Can’t Go Wrong With
Sometimes, you just want a classic. These recipes are fan favorites for a reason – they’re simple, satisfying, and absolutely delicious.
Simply Sensational Strawberry Sorbet 🍓
This is pure, fruity bliss! It’s light, refreshing, and perfect for a warm day. Plus, it only requires a couple of ingredients.
Here’s what you’ll need for a vibrant pint:
| Ingredient | Quantity | Notes |
|---|---|---|
| Frozen Strawberries | 16-20 oz | Use good quality berries! |
| Water or Juice | ~1/2 cup | Adjust for desired sweetness |
| Sugar or Sweetener | 2-4 tbsp | To taste (optional) |
| Lemon or Lime Juice | 1 tbsp | Brightens the flavor! |
Instructions:
- Put the frozen strawberries in your Ninja CREAMi pint, filling up to the max fill line.
- Add the water or juice, sugar (if using), and citrus juice to the pint. The liquid helps everything blend smoothly.
- Stir everything together a little bit to distribute the liquid.
- Place the lid on the pint, pop it in the outer bowl, and lock the outer bowl lid.
- Place the assembly in the CREAMi and select the SORBET function.
- After the first spin, check the texture. Sorbet often needs a re-spin or two to get perfectly smooth. If it looks powdery or icy, add another tablespoon of liquid and hit RE-SPIN. Repeat if necessary until you have a smooth, scoopable sorbet.
- Enjoy this burst of strawberry goodness! ☀️
Rich and Creamy Chocolate Bliss 🍫
Who doesn’t love chocolate ice cream? This recipe delivers that classic, comforting flavor you crave.
Here’s a simple base to get you started:
| Ingredient | Quantity | Notes |
|---|---|---|
| Whole Milk | 1 cup | Or your favorite dairy/non-dairy milk |
| Heavy Cream | 1/2 cup | For extra richness! (Optional) |
| Granulated Sugar | 1/3 – 1/2 cup | Adjust to your sweetness level |
| Unsweetened Cocoa Powder | 2-3 tbsp | The darker, the richer! |
| Vanilla Extract | 1 tsp | Enhances the chocolate flavor |
| Pinch of Salt | Tiny! | Brings out the sweetness |
Instructions:
- In a bowl or directly in the CREAMi pint (if you can whisk well in it), whisk together the milk, heavy cream (if using), sugar, cocoa powder, vanilla extract, and salt until the sugar and cocoa powder are fully dissolved and there are no lumps of cocoa. You can also use a blender or immersion blender for an extra smooth base.
- Pour the mixture into the Ninja CREAMi pint, making sure not to go over the max fill line.
- Place the lid on the pint and freeze for at least 24 hours until completely solid and frozen flat.
- Once frozen, place the pint in the outer bowl, secure the outer bowl lid, and place the assembly in the CREAMi.
- Select the ICE CREAM function.
- After the first spin, it might be perfectly creamy, or it might need a little help. If it looks powdery or a bit icy, add 1-2 tablespoons of milk or cream and select RE-SPIN. Re-spin again if needed for your desired texture.
- Scoop out this chocolatey dream and enjoy! 😍 You can even add chocolate chips or a swirl of fudge after the first spin and use the Mix-In function!
Healthy & High-Protein Options (Guilt-Free Goodness!)
One of the reasons the CREAMi is so popular is because it makes it easy to create healthier frozen treats. Perfect for a post-workout snack or a guilt-free dessert!
Power-Packed Peanut Butter Protein Freeze 💪
Fuel your body with this delicious and protein-rich recipe!
Here’s how to make it:
| Ingredient | Quantity | Notes |
|---|---|---|
| Milk (of choice) | 1.5 cups | Dairy or non-dairy |
| Protein Powder | 1-2 scoops | Vanilla or chocolate work great! |
| Peanut Butter | 1-2 tbsp | Creamy or crunchy! |
| Sweetener | To taste | Honey, maple syrup, or sugar substitute |
| Optional: Xanthan Gum | 1/4 tsp | For extra creaminess |
Instructions:
- In a bowl or pint, whisk or blend together the milk, protein powder, peanut butter, sweetener, and xanthan gum (if using) until everything is well combined and smooth.
- Pour into the Ninja CREAMi pint up to the max fill line.
- Freeze for at least 24 hours until solid and flat.
- Place the frozen pint in the outer bowl, secure the lid, and place in the CREAMi.
- Select the LITE ICE CREAM or ICE CREAM function. Lite Ice Cream often works well for protein bases.
- Check the texture after the first spin. Protein bases can sometimes be a little powdery. Add 1-2 tablespoons of milk and RE-SPIN. Re-spin again if needed for perfect consistency.
- Get your protein on! You can add chopped peanuts or mini chocolate chips using the Mix-In function for extra yumminess.
Making high-protein treats is a breeze with the CREAMi. It’s a fantastic way to hit your protein goals while still enjoying something sweet and cold!..Cranberry Honey Butter Recipe
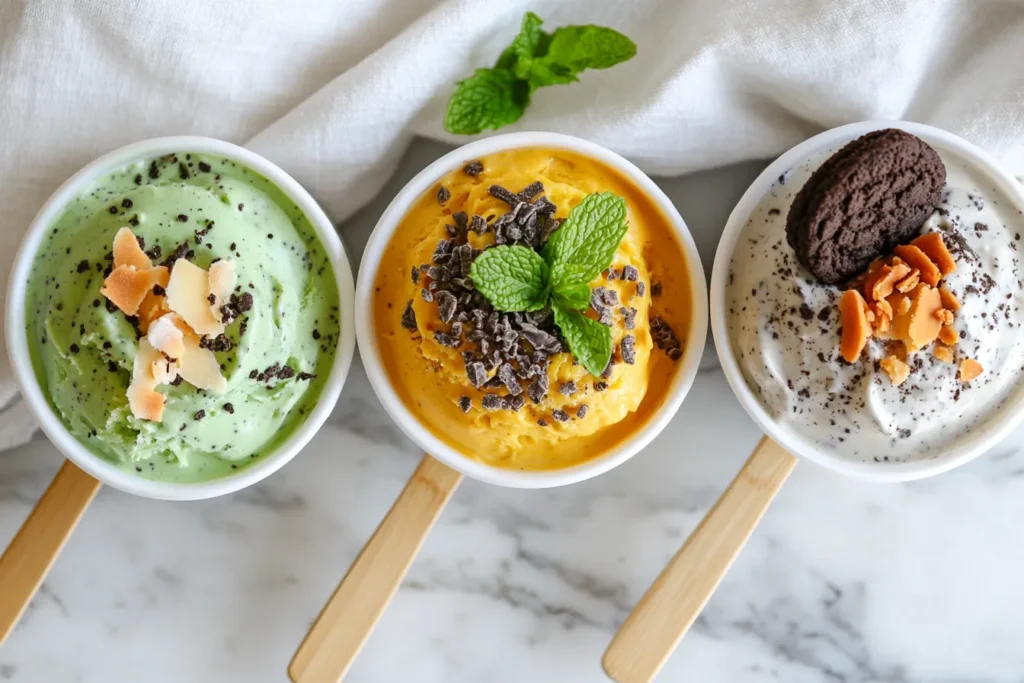
Vibrant Green Smoothie Sorbet 🥬🥭
Okay, stay with me on this one! You can totally sneak some greens into a refreshing sorbet, and it tastes amazing!
Here’s a recipe that’s as nutritious as it is delicious:
| Ingredient | Quantity | Notes |
|---|---|---|
| Frozen Mango Chunks | 1 cup | Provides sweetness and creaminess |
| Frozen Spinach | 1/2 cup | Don’t worry, you won’t taste it much! |
| Coconut Water or Juice | 1 cup | Or use apple juice |
| Lime Juice | 1 tbsp | Brightens the flavor |
| Sweetener | To taste | Honey, agave, or sugar (optional) |
Instructions:
- Blend the mango chunks, spinach, coconut water or juice, lime juice, and sweetener (if using) in a blender until completely smooth. You want absolutely no spinach chunks!
- Pour the vibrant green mixture into your Ninja CREAMi pint up to the max fill line.
- Freeze for at least 24 hours until solid and flat.
- Place the frozen pint in the outer bowl, secure the lid, and place in the CREAMi.
- Select the SORBET function.
- Check the texture after the first spin. If it’s powdery or icy, add 1-2 tablespoons of liquid (coconut water, juice, or even just water) and RE-SPIN. Re-spin again if needed.
- You’ve officially made a delicious, refreshing, and secretly healthy green sorbet! 🌱🥭
Fun & Funky Flavors: Get Creative in Your Kitchen!
Once you’re comfortable with the basics, the real fun begins – experimenting! The CREAMi is a playground for flavors.
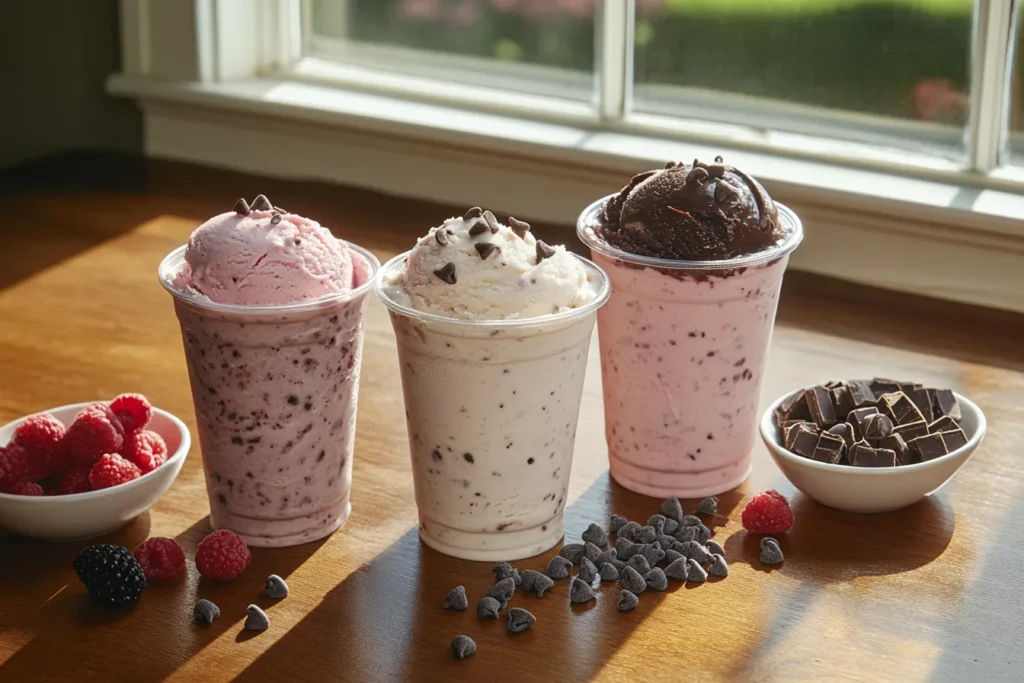
Cookies ‘n Cream Dream Machine Magic
This is a crowd-pleaser! Get that classic cookies and cream texture and taste right at home.
Here’s how to make this dreamy treat:
| Ingredient | Quantity | Notes |
|---|---|---|
| Cream Base | 1 pint’s worth | Use the Chocolate Bliss base (minus cocoa if you prefer vanilla base) or your favorite vanilla ice cream base. |
| Chocolate Sandwich Cookies | 6-8 cookies | Roughly broken into pieces |
Instructions:
- Prepare your ice cream base (vanilla or chocolate) and freeze it in the CREAMi pint for at least 24 hours until solid and flat.
- Process the frozen base on the ICE CREAM function.
- After the first spin, open the outer bowl and check the texture. If it’s still powdery, re-spin with a splash of milk or cream until creamy.
- Once you have a creamy base, create a well in the center of the frozen mixture (you can use a spoon).
- Add the broken cookie pieces into the well.
- Place the pint back in the outer bowl, secure the lid, and place in the CREAMi.
- Select the MIX-IN function. This setting is designed to gently incorporate chunks without obliterating them.
- After the mix-in cycle, scoop and enjoy your homemade cookies ‘n cream masterpiece! 🍪🍦
Tropical Mango Tango Sorbet 🥭🥥
Escape to a tropical paradise with every bite! This vibrant sorbet is bursting with sunshine flavors.
Here’s what you’ll need:
| Ingredient | Quantity | Notes |
|---|---|---|
| Frozen Mango Chunks | 1.5 cups | Sweet and tropical! |
| Canned Coconut Milk | 1/2 cup | Full-fat for creaminess |
| Pineapple Juice | 1/4 cup | Or orange juice |
| Lime Juice | 1 tbsp | Adds brightness |
| Sweetener | To taste | Honey, agave, or sugar |
Instructions:
- Combine the frozen mango chunks, coconut milk, pineapple juice, lime juice, and sweetener (if using) in a blender.
- Blend until the mixture is completely smooth and creamy.
- Pour the mixture into your Ninja CREAMi pint up to the max fill line.
- Freeze for at least 24 hours until solid and flat.
- Place the frozen pint in the outer bowl, secure the lid, and place in the CREAMi.
- Select the SORBET function.
- Check the texture. If it’s powdery or icy, add 1-2 tablespoons of coconut milk or juice and RE-SPIN. Re-spin again if needed for that perfect tropical swirl.
- Close your eyes, take a bite, and imagine you’re on a beach! 🏖️
Troubleshooting Common Ninja CREAMi Problems (Don’t Worry, We Got You!)
Okay, let’s be real. Sometimes, even with the best instructions, things don’t work perfectly on the first try. Don’t get discouraged if your CREAMi creation isn’t exactly what you expected! There are a few common hiccups people run into, and luckily, they usually have easy fixes. Think of these as learning opportunities on your journey to CREAMi mastery. 😉
“Why is My Treat Powdery or Crumbly?” 🤔
This is probably the most common issue, especially with lower-fat or lower-sugar recipes. You open the lid after the first spin, and instead of smooth ice cream, you see something that looks like frozen sand or powder.
Why it happens: This usually means the mixture is frozen very solid, and the initial spin couldn’t quite break it down into a creamy consistency. It might not have enough fat or sugar (which help keep things softer) or might just be extra cold from your freezer.
The fix: The RE-SPIN button is your best friend here! Add a tablespoon or two of liquid (milk, cream, juice, or even water, depending on your recipe) to the powdery mix in the pint. Put the lid back on, place it in the outer bowl, and hit RE-SPIN. This adds a little extra moisture and allows the blade to work through the frozen particles again. You might need to re-spin 1-2 more times, adding a tiny bit more liquid each time, until you achieve that smooth texture.
“Don’t give up if your first spin is powdery! The CREAMi is designed for re-spinning. It’s like hitting the refresh button for creaminess!”
“Help! My Blade Isn’t Spinning!”
You’ve got everything assembled, you hit the button, you hear the machine, but nothing’s happening inside the pint.
Why it happens: This is often a safety feature. The machine needs everything to be perfectly aligned and the outer bowl lid to be securely locked for the blade to engage. It could also be that your frozen base isn’t completely flat, or you’ve overfilled the pint, causing the blade to get stuck.
The fix:
- Check Assembly: Turn off the machine. Remove the outer bowl. Make sure the paddle is correctly attached to the outer bowl lid. Re-attach the outer bowl lid to the bowl, ensuring it’s twisted and locked securely. Place the pint inside the outer bowl correctly. Re-attach the entire assembly to the motor base, twisting the handle firmly until it clicks into place.
- Check the Pint: If assembly looks fine, your frozen pint might be the issue. Is the top of the frozen base perfectly flat? If there’s a dome or a high spot, it can interfere with the blade. You can try letting the pint sit out for 5-10 minutes to soften slightly, or carefully shave down the high spot with a spoon (though be careful not to damage the pint). Make sure you didn’t fill above the max fill line before freezing.
- Is it Frozen Solid? If the base isn’t frozen solid all the way through, the machine might struggle. Ensure it was in the freezer for the full 24 hours and your freezer is cold enough (ideally around 0°F or -18°C).
“It’s Too Soft/Soupy!”
You wanted ice cream, but you got something closer to a melted milkshake.
Why it happens: The most common reason is that your base wasn’t frozen solid enough to begin with. It might not have frozen for long enough, your freezer might not be cold enough, or the mixture might have partially thawed before processing (maybe you left it on the counter for too long). Sometimes, recipes with very high sugar or alcohol content (like vanilla extract!) can also result in a softer texture.
The fix: Unfortunately, once it’s too soft, spinning it more won’t make it firmer. More spinning actually adds air and can make it even softer. The best thing to do is to re-freeze the pint. Put the lid back on and pop it back in the freezer for several hours until it’s frozen solid again. Then, you can process it in the CREAMi. To prevent this next time, ensure your freezer is cold enough and your pint freezes for a full 24 hours without sitting out before processing.
Dealing with Ice Crystals (Bye-Bye Crunch!)
You want smooth and creamy, not icy and crunchy!
Why it happens: Ice crystals form when water in your mixture separates and refreezes. This is more common in recipes with higher water content and lower fat or sugar. Freezing and thawing cycles can also contribute to ice crystals.
The fix:
- Use Stabilizers: Ingredients like a tiny amount of xanthan gum or guar gum (seriously, just a pinch!), cream cheese, or even a tablespoon of instant pudding mix can help prevent ice crystals and improve texture.
- Increase Fat/Sugar: Recipes with more fat (from cream or full-fat dairy/coconut milk) and sugar tend to be creamier and less icy.
- Freeze Properly: Ensure your base is frozen solid for at least 24 hours and your freezer temperature is consistent.
- Minimize Thawing: Process the pint directly from the freezer. Don’t let it sit out for too long beforehand.
- Scrape the Sides: After the first spin, sometimes an icy layer forms around the edge of the pint. You can use a spoon to scrape this down into the center before a re-spin to help incorporate it.
Elevate Your CREAMi Game: Tips and Tricks for Perfection
Once you’ve mastered the basics and troubleshooting, you can start playing around to get exactly the texture and flavor you want. These tips will help you go from CREAMi novice to pro! 🏆
The Power of the Re-Spin Button
We’ve talked about it already, but seriously, don’t be afraid of the RE-SPIN button! It’s not a sign of failure; it’s a tool for perfection. Especially with lower-calorie or higher-liquid bases, a re-spin (or two!) is often necessary to achieve that smooth, scoopable consistency. Always check the texture after the initial spin and re-spin as needed, adding a tablespoon of liquid if it looks powdery.
Mastering Mix-Ins: Adding Those Chunks of Joy
Those bits of cookie dough, chocolate chips, nuts, or candy pieces are what take a frozen treat from good to amazing! The CREAMi has a special MIX-IN function just for this.
How to do it: After you’ve processed your base (and re-spun if necessary) to your desired smooth texture, create a small well in the center of the frozen mixture. Add your chosen mix-ins into this well. Place the pint back in the outer bowl, secure the lid, and select the MIX-IN function. The machine will incorporate them evenly throughout the pint without totally pulverizing them.
Pro-Tip: Chop larger mix-ins into smaller pieces so they distribute better and are easier for the machine to handle. Avoid adding hard, frozen chunks (like frozen fruit pieces) directly as mix-ins; process those with the base initially.
Experimenting with Bases (Milk, Yogurt, Fruit, Oh My!)
The type of liquid you use as your base will significantly impact the final texture.
- Dairy Milk/Cream: Full-fat dairy will give you the richest, creamiest ice cream. Lower-fat milk will result in a lighter, potentially icier texture (which might need more re-spins or a stabilizer).
- Non-Dairy Milk: Almond, oat, soy, or coconut milk can all work! Coconut milk (especially from a can) tends to be the creamiest non-dairy option due to its fat content.
- Yogurt: Greek yogurt makes fantastic, tangy frozen yogurt! It’s also great for adding protein and creaminess to other bases.
- Fruit Purees/Juices: These are perfect for bright, refreshing sorbets. For the best texture, use fruits with some body to them (like mango or banana) or blend thoroughly to avoid icy chunks.
Don’t be afraid to mix and match! Try a base of half milk, half yogurt, or combine fruit puree with a splash of coconut milk.
Sweetening Your Success: Finding the Right Balance
Sweetness is a personal preference, but keep in mind that cold dulls sweetness. This means your base mixture will need to taste much sweeter before freezing than you want the final frozen product to be.
- Taste Test: Always taste your base mixture before freezing and adjust the sweetener as needed.
- Types of Sweeteners: You can use granulated sugar, honey, maple syrup, or sugar substitutes. Some sugar substitutes can affect the texture, so you might need to experiment or use a stabilizer.
- Balance: Sometimes a pinch of salt or a little citrus juice can actually enhance the perception of sweetness and balance the flavors.
Cleaning and Maintenance: Keep Your CREAMi Happy
Keeping your Ninja CREAMi clean is essential for its longevity and for hygienic reasons (obviously!). Luckily, it’s pretty easy.
Easy Steps for a Squeaky-Clean Machine
Most of the parts that come into contact with food are dishwasher safe, but handwashing is also quick and effective.
- Unplug: Always unplug the machine before cleaning! 🔌
- Disassemble: Take apart the outer bowl, inner pint, lid, and paddle.
- Wash: Wash these parts with warm, soapy water or place them on the top rack of your dishwasher if they are dishwasher safe (check your manual!). Use a brush to get into any nooks and crannies on the paddle.
- Wipe Down the Base: Wipe the motor base unit with a damp cloth. NEVER immerse the motor base in water.
- Dry Thoroughly: Make sure all parts are completely dry before reassembling or storing. This prevents water spots and potential issues with the machine.
Avoiding Common Cleaning Mistakes
- Don’t Forget the Paddle: Food can get stuck in the center of the paddle, so make sure to clean it thoroughly.
- Clean After Every Use: Don’t let residues dry and harden; it makes cleaning much harder later.
- NEVER Put the Motor Base in Water: This is a sure way to ruin your machine.
Beyond the Pint: What Else Can Your CREAMi Do?
While ice cream is a highlight, your Ninja CREAMi isn’t a one-trick pony!
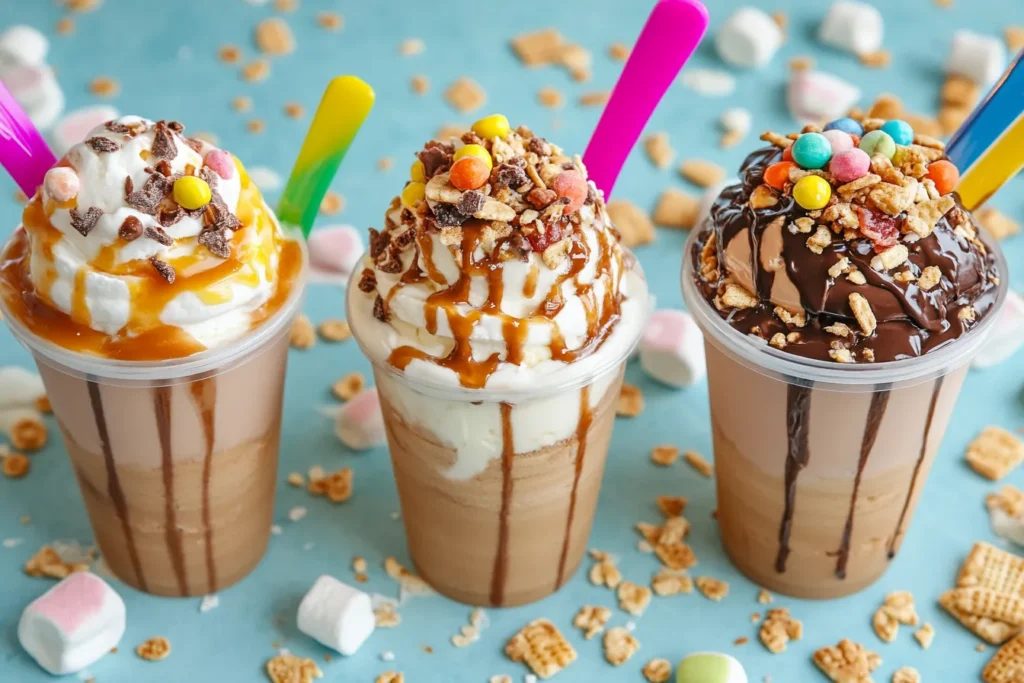
Smoothie Bowls and Milkshakes on Demand
- Smoothie Bowls: Freeze your favorite thick smoothie mixture in a pint. When frozen, use the SMOOTHIE BOWL function for a perfect, thick base ready for granola, fruit, and nuts!
- Milkshakes: Did you know you can make milkshakes? Freeze your milkshake base (milk, ice cream mix, flavorings) in the pint. Process on the MILKSHAKE setting. You can even add mix-ins!
Frozen Drinks and Other Cool Treats
Experiment with freezing different liquids! Freeze juice for a slushy, or even freeze a coffee mixture for a frap-like treat. The possibilities are vast once you understand the basic freeze-and-spin technology.
Join the CREAMi Community! Share Your Creations!
One of the best parts about the Ninja CREAMi is the vibrant online community! People are constantly sharing new recipes, tips, and troubleshooting advice. Look for Ninja CREAMi groups on social media platforms like Facebook and Reddit. It’s a fantastic way to get new ideas and connect with other frozen treat enthusiasts! 🎉
Ready to Get CREAMi-ing?
By now, you should feel a lot more confident about using your Ninja CREAMi and exploring the endless world of frozen desserts you can create. From simple sorbets to decadent ice creams and healthy protein treats, your CREAMi is a powerful tool for satisfying your sweet tooth and getting creative in the kitchen.
So, what are you waiting for? Grab your ingredients, get freezing, and start experimenting! The perfect scoop is just a spin away. Happy CREAMi-ing! 😄🍦🍧 frozen yogurt sorbet milkshake smoothie bowl nice cream protein ice cream healthy dessert homemade ice cream kitchen gadget troubleshooting tips and tricks cleaning and maintenance