Table of Contents
Introduction
Imagine biting into a warm, gooey dessert where rich chocolate cake meets creamy peanut butter cups, all with a soft, buttery texture. That’s Peanut Butter Cup Dump Cake for you—a no-fuss, easy-to-make dessert that will have everyone asking for seconds! Whether you’re a peanut butter lover or a chocoholic, this dessert is the perfect indulgence.
Dump cakes are known for their simplicity—no need for fancy mixing or complicated steps. Just layer, bake, and enjoy! And when you add peanut butter cups into the mix? Well, let’s just say it takes things to a whole new level. 😍
What is Peanut Butter Cup Dump Cake?
Peanut Butter Cup Dump Cake is a simple, one-pan dessert that combines the best of chocolate cake, peanut butter, and buttery goodness. Unlike traditional cakes that require mixing and beating, a dump cake follows a straightforward method:
- Dump the ingredients into a baking dish.
- Layer the components without stirring.
- Bake until golden, gooey, and irresistible!
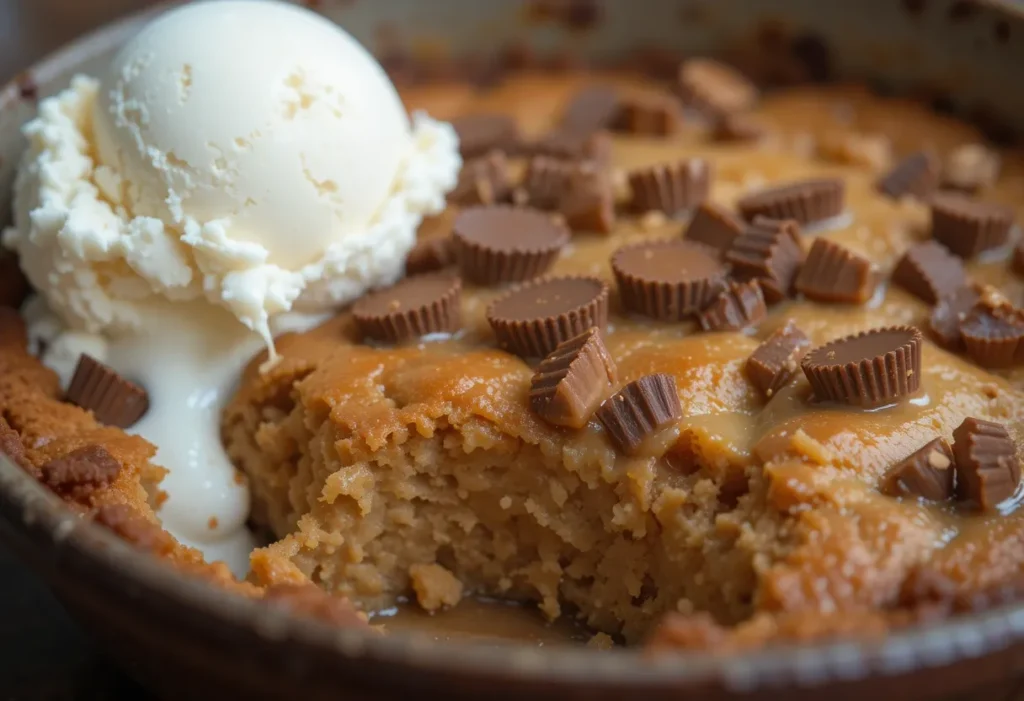
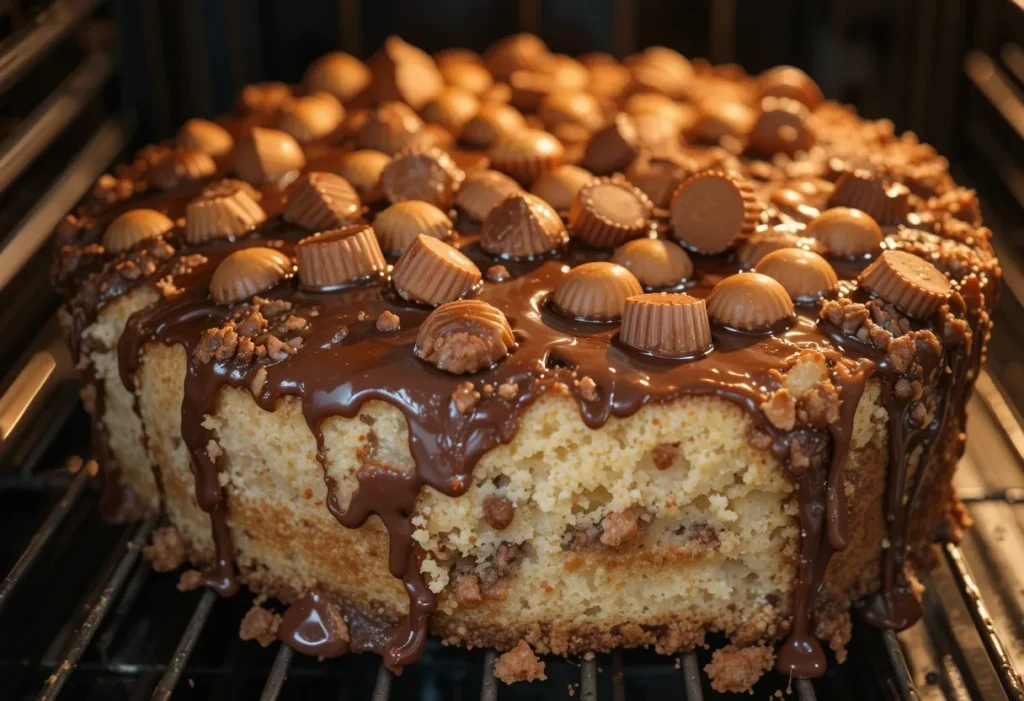
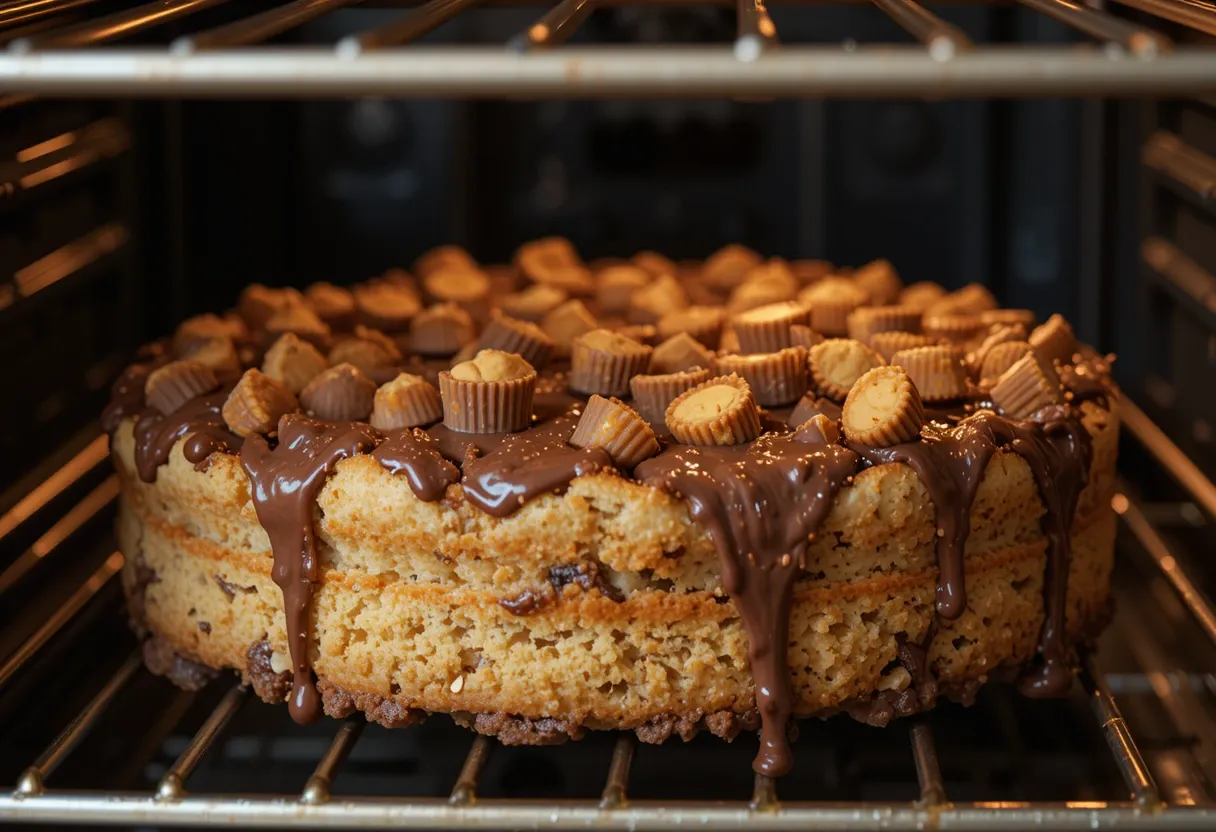
The result? A rich, chocolatey cake with pockets of melted peanut butter cups, a crisp buttery topping, and a soft, almost molten center. The best part? Minimal effort, maximum flavor! 🍫🥜
Why You’ll Love This Dessert 🍫🥜
✔ Super Easy – No complicated baking techniques required!
✔ Minimal Ingredients – Most of the ingredients are pantry staples.
✔ Perfect for Any Occasion – Whether it’s a family dinner, party, or potluck, this cake is always a hit.
✔ Customizable – You can switch up flavors and toppings for a unique twist.
✔ Heavenly Combination – Chocolate + peanut butter = pure bliss!
Ingredients You’ll Need
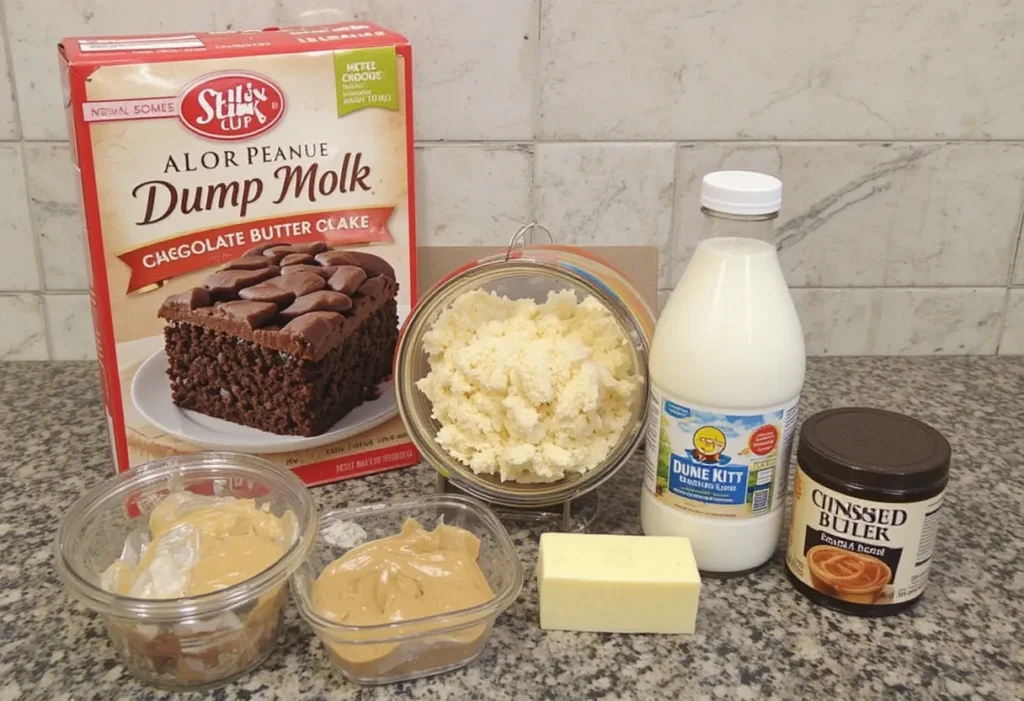
To make this delicious dump cake, gather the following ingredients:
Main Ingredients
- Chocolate Cake Mix – Use any store-bought chocolate cake mix (like Devil’s Food or Fudge).
- Peanut Butter Cups – Regular or mini peanut butter cups, chopped.
- Sweetened Condensed Milk – Adds moisture and richness.
- Butter – Melted, to create a crispy topping.
- Milk or Heavy Cream – For extra creaminess.
- Chocolate Chips – Optional, but they make the cake even more chocolatey!
Best Brands for Peanut Butter Cups
Not all peanut butter cups are created equal! Here are some of the best options:
✔ Reese’s Peanut Butter Cups – The classic choice.
✔ Trader Joe’s Dark Chocolate Peanut Butter Cups – For a richer taste.
✔ Justin’s Organic Peanut Butter Cups – A healthier, organic option.
Pro Tip: If you want extra peanut butter flavor, add a few tablespoons of peanut butter into the mix before baking!

Step-by-Step Guide: How to Make Peanut Butter Cup Dump Cake
Making this cake is as easy as 1-2-3! Follow these simple steps for the perfect dump cake:
1️⃣ Preparing Your Baking Dish
- Preheat your oven to 350°F (175°C).
- Lightly grease a 9×13-inch baking dish with butter or non-stick spray.
2️⃣ Layering the Ingredients
- Layer 1: Pour the sweetened condensed milk evenly over the bottom of the dish.
- Layer 2: Sprinkle chopped peanut butter cups across the dish.
- Layer 3: Evenly spread the dry chocolate cake mix over the peanut butter cups.
- Layer 4: Drizzle melted butter on top—this helps create a crispy topping.
- Layer 5: (Optional) Add a handful of chocolate chips for extra richness.
📝 Note: Do NOT stir! The magic of a dump cake happens when the layers bake together.
3️⃣ Baking Tips for a Perfect Texture
- Bake at 350°F (175°C) for 35-40 minutes until the top is golden brown.
- Let it rest for 10-15 minutes before serving—this allows the flavors to meld.
- Serve warm with a scoop of vanilla ice cream for the ultimate experience! 🍦
Block Quote:
“The best part about this cake? Every bite is different! Some bites are gooey with peanut butter, others are crunchy from the buttery topping—pure heaven!” 😍

Common Mistakes & How to Avoid Them
Even though this recipe is super simple, there are a few common mistakes to watch out for:
Using the Wrong Cake Mix
- ❌ Avoid overly sweet cake mixes (like milk chocolate) if you prefer a balanced taste.
- ✅ Choose a rich, deep chocolate mix like Devil’s Food for the best results.
Overbaking or Underbaking
- If your cake is too dry, it’s probably overbaked. Keep an eye on the oven and check at 35 minutes.
- If it’s too wet, let it bake for an extra 5-10 minutes until the top is crispy.
Not Using Enough Peanut Butter Cups
- The peanut butter cups melt into the cake, so don’t be shy—add plenty!
- If you love peanut butter, drizzle some melted peanut butter on top before serving! 😋
Variations to Try
Want to put your own spin on this recipe? Here are some fun variations:
Chocolate Lover’s Edition 🍫
- Use brownie mix instead of chocolate cake mix for a fudgier texture.
- Add extra chocolate chunks between the layers.
Healthier Alternative with Less Sugar
- Swap sweetened condensed milk for unsweetened coconut milk.
- Use a sugar-free cake mix and dark chocolate peanut butter cups.
Best Toppings & Serving Suggestions
Dump cake is amazing on its own, but adding toppings takes it over the top!
Ice Cream Pairings 🍦
- Vanilla Bean – A classic choice that balances the richness.
- Salted Caramel – Enhances the peanut butter flavor.
- Chocolate Fudge Swirl – Double the chocolate, double the fun!
Drizzles and Sauces
- Caramel Sauce – For a sweet and salty contrast.
- Hot Fudge – Because there’s never too much chocolate!
- Melted Peanut Butter – A peanut butter lover’s dream.
Storage and Reheating Tips
So, you’ve baked the perfect Peanut Butter Cup Dump Cake, and somehow (miraculously) you have leftovers. How do you store it properly to keep it fresh and delicious? Here’s what you need to know!
How to Store Peanut Butter Cup Dump Cake
🧊 At Room Temperature:
- If you plan to finish the cake within 24 hours, you can leave it covered on the counter.
- Store it in an airtight container or cover the baking dish tightly with plastic wrap or foil.
❄ In the Refrigerator:
- If storing for longer than a day, place it in the fridge—it will last 3 to 5 days.
- The cold air helps preserve the texture of the peanut butter cups and prevents sogginess.
🧊 Freezing Instructions:
- This cake freezes surprisingly well!
- Cut it into portions, wrap each slice tightly in plastic wrap, and place them in a freezer-safe bag.
- It will stay fresh for up to 3 months!
How to Reheat for the Best Taste
🔥 Oven Method (Best for Freshness)
- Preheat your oven to 300°F (150°C).
- Place a slice of cake on an oven-safe dish and cover it loosely with foil.
- Heat for 10-15 minutes until warmed through.
🔥 Microwave Method (Quickest)
- Place a slice on a microwave-safe plate.
- Heat in 15-second intervals until warm and gooey.
- For extra indulgence, drizzle melted peanut butter or hot fudge on top after reheating. 🤤
“Trust me, reheating this cake in the oven makes it taste just as fresh as the day you made it! The peanut butter cups stay melty, and the cake remains soft and gooey.” 😍

Nutrition Facts: Is It Worth the Indulgence?
Let’s be real—this is not a diet-friendly dessert. But hey, sometimes we deserve a treat! Here’s a rough breakdown of the nutritional value per serving (based on an 8-serving batch).
📊 Nutritional Breakdown (Per Serving)
| Nutrient | Amount (Approx.) |
|---|---|
| Calories | 450-500 kcal |
| Total Fat | 22g |
| Saturated Fat | 12g |
| Carbohydrates | 55g |
| Sugars | 40g |
| Protein | 6g |
| Sodium | 250mg |
Note: The numbers may vary depending on the brands of ingredients used.
💡 Want a Healthier Version?
- Use sugar-free cake mix and dark chocolate peanut butter cups.
- Swap sweetened condensed milk for unsweetened coconut milk.
- Reduce butter by half and use a banana or applesauce for moisture.
Frequently Asked Questions (FAQs)
1️⃣ Can I Make This Ahead of Time?
Yes! This cake actually tastes even better the next day as the flavors meld together. Simply bake it, cover it, and refrigerate. When ready to serve, warm it up using the reheating tips above.
2️⃣ What’s the Best Way to Store Leftovers?
For short-term storage, keep it covered at room temperature for up to a day. If storing longer, refrigerate for 3-5 days or freeze for up to 3 months.
3️⃣ Can I Use Other Types of Candy?
Absolutely! While peanut butter cups are the star ingredient, you can switch things up with:
✔ Snickers – For a caramel and peanut crunch.
✔ Kit-Kat – Adds a crispy texture.
✔ M&Ms – Colorful and fun, great for kids!
4️⃣ Can I Use a Different Cake Mix?
Yes! While chocolate cake mix works best, you can experiment with:
✔ Brownie mix – For a fudgier texture.
✔ Yellow cake mix – For a sweet, buttery contrast.
✔ Peanut butter cake mix – To enhance the peanut butter flavor.
5️⃣ What’s the Best Way to Serve This Cake?
This cake is best served warm, paired with a scoop of vanilla ice cream, and drizzled with caramel or melted peanut butter. 😍
Conclusion: Why You Need to Try This Cake Today!
If you love chocolate, peanut butter, and effortless desserts, Peanut Butter Cup Dump Cake is a must-try! It’s rich, gooey, chocolatey, and ridiculously easy to make—perfect for any occasion. Whether you serve it fresh out of the oven or enjoy a leftover slice reheated with ice cream, every bite is pure dessert heaven!
So, what are you waiting for? Grab your ingredients, dump them in a pan, and let the oven work its magic! 🎂🍫🥜
“Baking should be fun, not stressful. And with this dump cake, you get maximum flavor with minimum effort—a true win-win!”

