
Introduction
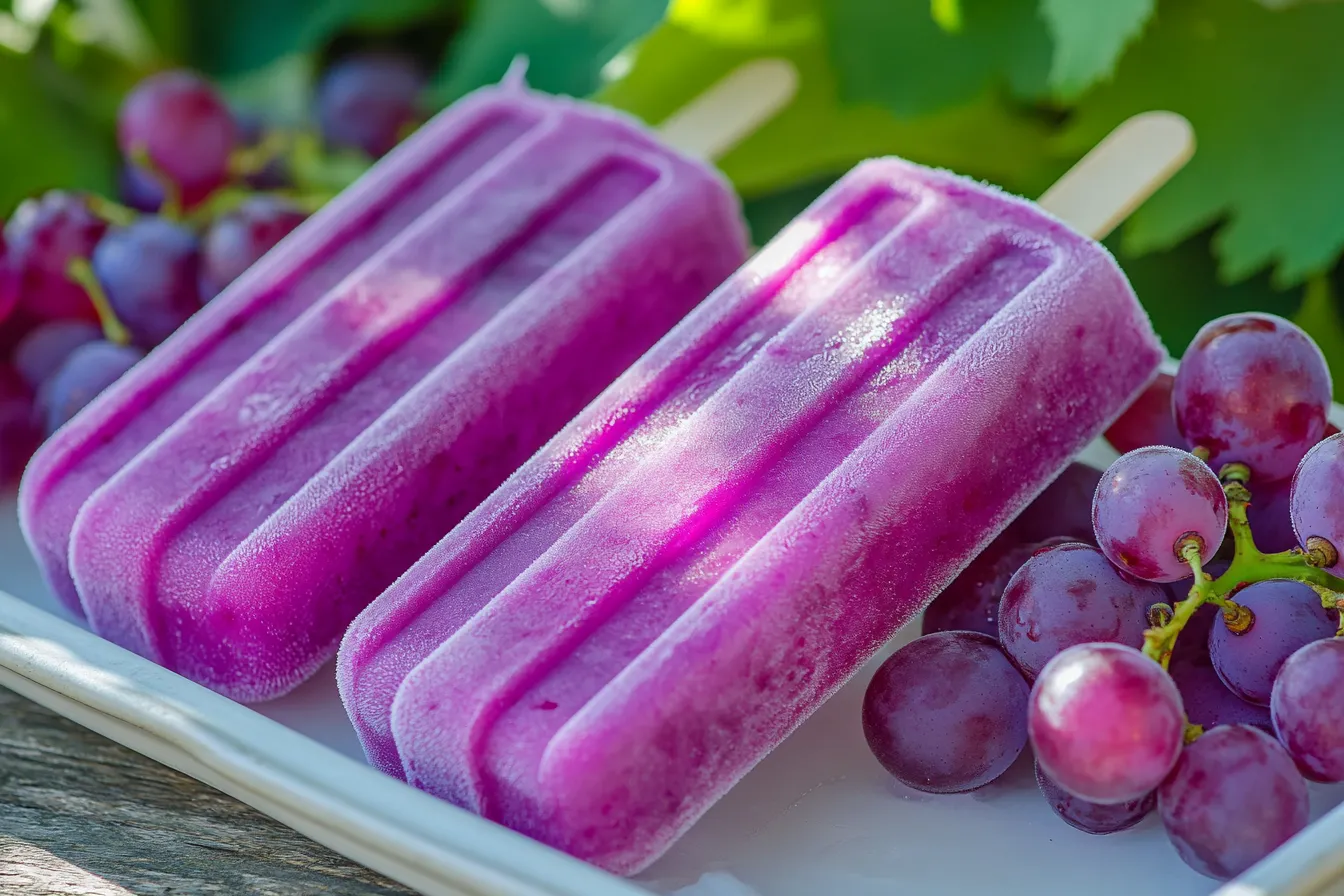
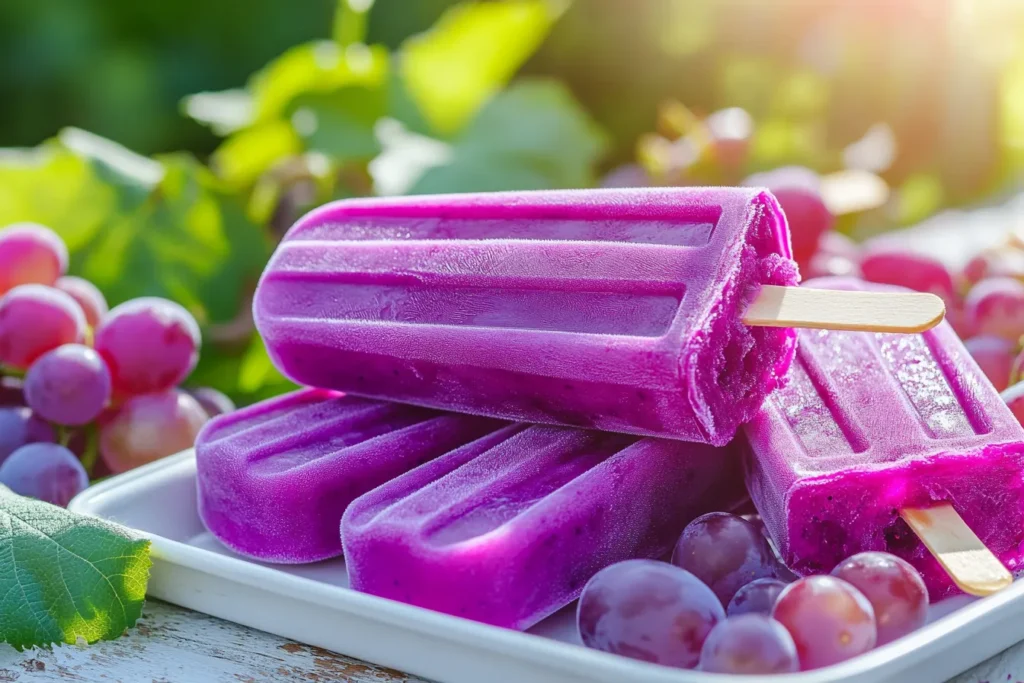
Nothing beats a refreshing frozen treat on a hot summer day, and grape ice pops are among the easiest, healthiest, and most kid-approved choices you can make. Packed with the bright, juicy flavor of fresh grapes, these pops are a naturally sweet and hydrating alternative to sugary store-bought popsicles.
Whether you’re a busy parent looking for a fun snack or just want a healthy dessert to cool off, homemade grape ice pops deliver both flavor and nutrition in every bite. In this guide, I’ll walk you through exactly how to make them, share tips for customizing flavors, and explain why they’re so much better than what you find in stores..Grape Ice Cream
Let’s get started making these frosty, family-friendly treats you’ll feel great about serving!
Why Choose Homemade Grape Ice Pops?
Homemade grape ice pops offer a perfect blend of simplicity, health, and fun. Here’s why they should replace the boxed pops in your freezer:
Healthier Than Store-Bought Popsicles
Store-bought popsicles often come loaded with artificial food dyes, stabilizers, and huge amounts of added sugar. These ingredients can leave you worried about what your kids are really eating.
When you make grape ice pops at home, you control every ingredient. Fresh grapes are naturally sweet and colorful, so you skip the artificial flavors and colors completely. Plus, you can adjust how much, if any, extra sweetener goes in. That means fewer blood sugar spikes and a snack you can feel good about giving to your kids — or enjoying yourself.
Easy and Budget-Friendly
Grapes are available almost everywhere, and they’re surprisingly affordable. Compared to the price of store-bought frozen treats, homemade grape ice pops are a budget saver. All you really need is a blender, some ice pop molds, and a handful of fresh ingredients.
In less than 10 minutes of prep, you can make a batch that lasts all week, cutting down on grocery trips and minimizing packaging waste. This is a win-win for your wallet and the planet.
Naturally Nutritious
Grapes are packed with vitamin C, potassium, and fiber, plus antioxidants like resveratrol that can help support heart health and even reduce inflammation. When you turn them into ice pops, you’re essentially freezing all those nutrients into a fun, portable snack..High Protein Cottage Cheese Fudgesicles
Kids will see them as a treat, but you’ll know they’re getting the health benefits of whole fruit, fiber, and hydration all in one. It’s one of the best ways to sneak more fruit into your family’s diet, no arguments required.
Ingredients You’ll Need
One of the best things about grape ice pops is how simple they are to make. You don’t need fancy equipment or hard-to-find ingredients — just fresh, wholesome produce and a blender. Here’s everything you’ll need for a basic grape ice pop recipe:
- 2 cups fresh seedless grapes (red or green, your choice)
- 1/4 cup water (or coconut water for extra hydration)
- 1–2 tablespoons honey or maple syrup (optional, especially if your grapes are tart)
- Juice of half a lemon (optional, but it brightens the flavor)
If you’d like to experiment, here are some tasty add-ins to take your pops to the next level:
- A small handful of blueberries or strawberries for color and flavor variety
- A swirl of Greek yogurt for creaminess and added protein
- Fresh mint leaves for a refreshing, cool hint
- A sprinkle of chia seeds for extra fiber and texture
Pro Tip: Always taste your grape puree before freezing. If your grapes are very sweet, you might skip the honey entirely.
How to Make Grape Ice Pops (Step-by-Step)
Making these pops is simple and fast. Here’s exactly how to do it for the best results:
Step 1: Prepare the Grapes
First things first: wash your grapes thoroughly under running water. Gently pat them dry and pull them off their stems. If you want an ultra-smooth ice pop texture, you can peel the grapes, but most people skip this step because grape skins contain healthy fiber and antioxidants.
Tip: If you spot any soft or bruised grapes, remove them so they don’t affect the flavor of your final mix.
Step 2: Blend
Add your prepared grapes to a blender along with the water and any sweetener or lemon juice you’re using. Blend until the mixture is smooth and pourable. This should take about 30–45 seconds in a high-speed blender.
Taste Test: Take a spoonful to check the flavor. Adjust with more honey or lemon if needed.
Step 3: Strain (Optional)
Some people prefer their pops silky smooth. If that’s you, pour the blended mixture through a fine-mesh strainer or cheesecloth to remove the skins and pulp. Push it through with a spoon to get every bit of juice out.
Others prefer to keep the pulp, since it adds more fiber and nutrients. It’s really up to your personal preference.
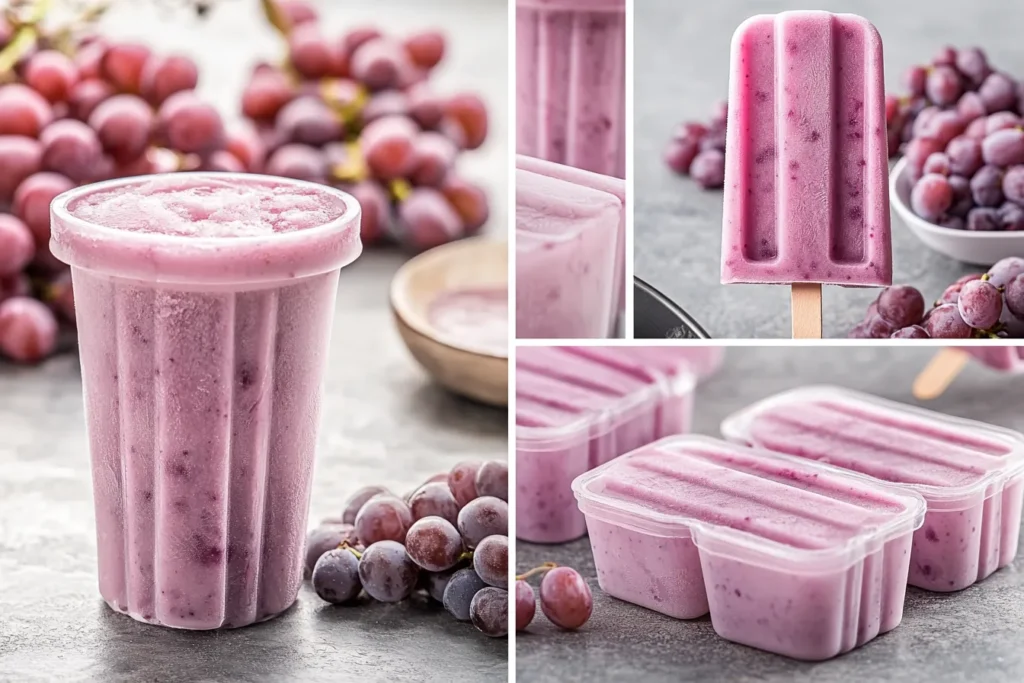
Step 4: Pour into Molds
Slowly pour the grape mixture into ice pop molds. Leave a little bit of space at the top of each mold so the mixture can expand as it freezes.
Add the sticks and gently tap the molds on the counter to remove any air bubbles.
Step 5: Enjoy!
Place your molds in the freezer for at least 4 hours, ideally overnight. Once they’re frozen solid, run warm water over the outside of the molds for a few seconds to help release your pops.
Enjoy immediately for the freshest flavor, or store them in an airtight container or freezer bag for up to three months.
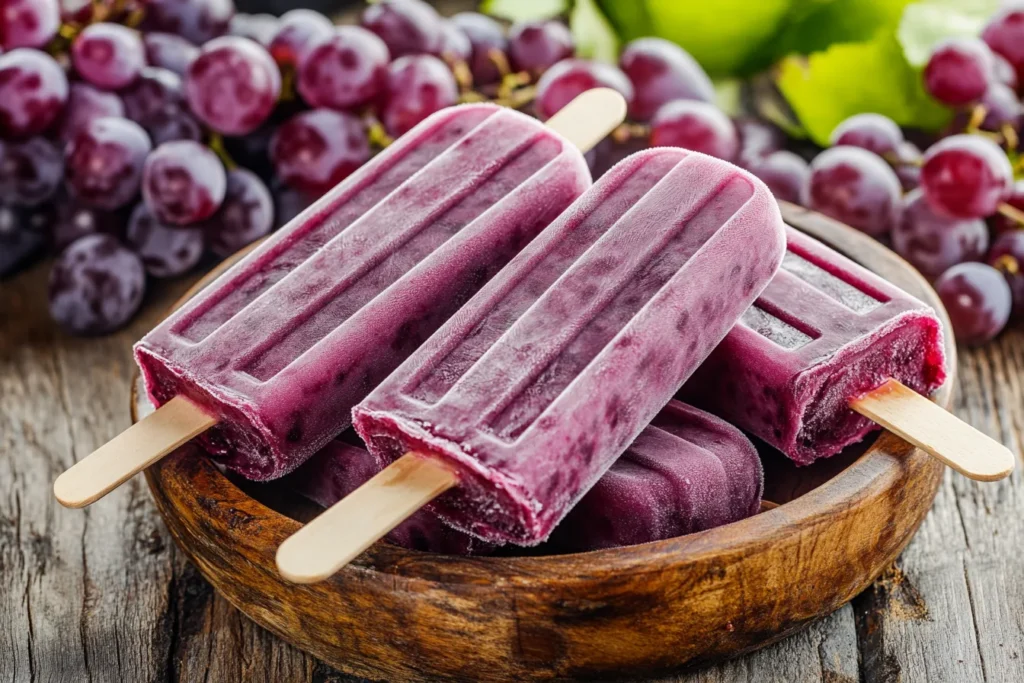
Variations to Try
Homemade grape ice pops are incredibly flexible, so you can easily customize them to suit your family’s tastes or even seasonal produce. Here are some crowd-pleasing variations to spark your creativity:
Grape Yogurt Ice Pops
If you want a creamier, more filling snack, swirl in a few spoonfuls of Greek yogurt with your grape puree. This boosts the protein content and creates a frozen treat that feels more like a smoothie on a stick. Kids love these, and they can even help swirl the yogurt before freezing.
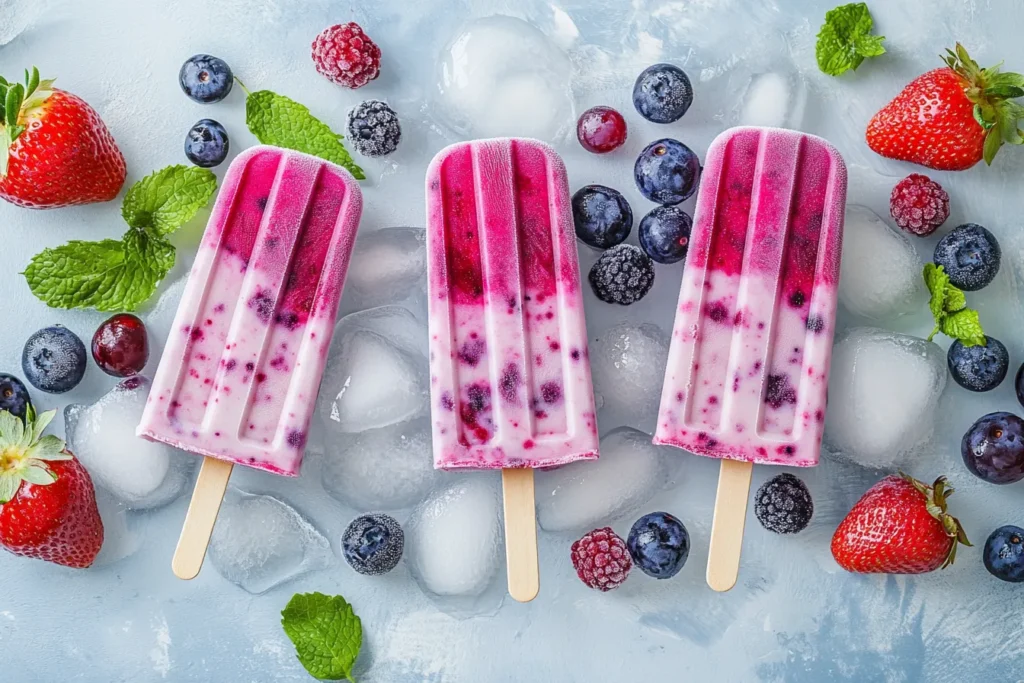
Mixed Berry Grape Pops
For a beautiful jewel-toned ice pop and a bigger antioxidant punch, toss in a small handful of blueberries, raspberries, or strawberries along with your grapes. This combination is sweet, colorful, and brimming with flavor. Plus, berries pair perfectly with the natural sweetness of grapes.
Citrus Grape Pops
Adding a squeeze of lime or orange juice transforms your grape ice pops with a zesty kick that’s extra refreshing in hot weather. Citrus not only balances out the sweetness but also brings a tangy brightness, making each bite feel more vibrant.
Pro tip: If you love experimenting, try layering two different grape varieties in the same mold for a striking two-tone pop!
Tips for Success
Making great homemade ice pops is easier than you think, but these tips will help you get the perfect result every single time:
- Use ripe grapes: The sweeter and juicier, the better. This cuts down on how much sweetener you might need.
- Avoid over-watering: Too much water will dilute the flavor and create ice crystals. Stick to just enough water to blend smoothly.
- Blend gently: Over-blending can whip in air, which sometimes causes popsicles to be brittle instead of creamy.
- Leave space: Always leave a bit of space at the top of the mold to allow for natural expansion during freezing.
- Label flavors: If you’re making multiple flavors, label them clearly. It’s no fun to grab the wrong pop when you’re expecting grape!
Storage and Shelf Life
Homemade grape ice pops will keep beautifully in your freezer for about 2–3 months, assuming you store them properly. Here’s how:
- Once frozen, remove the pops from their molds and place them in a freezer-safe bag or an airtight container.
- If you’re worried about them sticking together, wrap each one in parchment or wax paper before storing.
- Keep them in the coldest part of the freezer, away from the door, to avoid partial thawing every time you open the freezer.
Label the container with the date so you remember to enjoy them while they’re at their best flavor and texture.
Pro Tip: If you have little ones, store a couple of pops in easy-to-reach spots so they can help themselves — it’s a great independence-building snack!
Benefits of Grape Ice Pops for Kids
Kids absolutely love popsicles, but store-bought options can be packed with questionable dyes, excess sugar, and artificial flavors. Homemade grape ice pops are a healthier way to satisfy their sweet tooth while providing real nutrition.
Grapes are rich in vitamin C, potassium, and natural antioxidants like resveratrol, which may help protect against inflammation and support immune health. Kids also get a dose of fiber from grape skins, especially if you skip straining the puree.
Plus, kids who help make their own ice pops are often more interested in trying them — a clever way to encourage fruit intake in picky eaters. The fun, vibrant purple color of grapes makes them extra appealing, and you can even get your child involved in layering colors or adding bits of other fruits for a rainbow effect.
According to Healthline, grapes may also help improve heart health and brain function, which is a bonus for growing kids.
Benefits for Adults
Adults benefit from grape ice pops just as much as kids — maybe even more! These naturally sweet treats are low in calories, free from artificial ingredients, and loaded with antioxidants that support healthy aging.
If you’re looking to stay hydrated in the summer, grape ice pops are a great option since they are mostly water and natural fruit sugars, with no added artificial sweeteners. Grapes themselves have compounds shown to help reduce oxidative stress and promote cardiovascular health.
Homemade grape ice pops can even serve as a post-workout recovery snack, thanks to their quick carbohydrates and refreshing temperature. If you add a swirl of yogurt, they’re a perfect protein boost too.
Best Popsicle Molds
If you plan to make grape ice pops regularly (and trust me, once you try them, you will), investing in quality molds is worth it. Here are some top recommendations:
- Silicone molds: Super flexible, easy to clean, and kid-friendly for removing pops without breaking.
- Stainless steel molds: Environmentally friendly, durable, and great for avoiding plastic altogether.
- BPA-free plastic molds: Budget-friendly and widely available in fun shapes for kids.
If you don’t have any molds, you can also use small paper cups with wooden sticks. Simply peel away the paper cup once frozen — easy and disposable!
For more great ideas, check out The Kitchn’s popsicle mold guide, which reviews some of the best options on the market.
Fun Serving Ideas
You can serve grape ice pops in dozens of fun, creative ways that make them even more exciting:
- Place the pops on a platter of crushed ice for backyard parties or picnics — it looks great and keeps them cold.
- Drizzle or dip them in a bit of dark chocolate before refreezing for a decadent twist that still feels healthy.
- Sprinkle a tiny pinch of sea salt on top before freezing for a sweet-salty flavor bomb that surprises your guests.
- Layer two flavors in a single mold (like grape and strawberry) for an eye-catching, Instagram-worthy look.
These serving styles can transform a simple frozen snack into a show-stopping summer treat that everyone will remember.
FAQ
Are grape ice pops safe for babies?
Homemade grape ice pops can be safe for babies older than about 8 months, provided you don’t add honey (which should not be given to babies under one year due to the risk of botulism). Stick to pure blended grapes with a splash of water.
It’s also a good idea to supervise babies while they eat ice pops, as very cold treats can be a shock to their system and pose a choking risk if they bite off large chunks. If you’re ever unsure, check with your pediatrician before introducing popsicles to your baby’s diet.
Can I use frozen grapes instead of fresh?
Yes! Frozen grapes work beautifully in this recipe. Just let them thaw slightly before blending so you don’t overwork your blender motor. Frozen grapes can even add a slightly thicker consistency to the puree, which helps your pops freeze faster with fewer ice crystals.
How can I make them creamier?
For a smoother, creamier grape ice pop, stir in a few tablespoons of yogurt (Greek yogurt works especially well), coconut milk, or even a splash of cream before pouring the mixture into molds. This will create a softer, almost gelato-like bite while still keeping a fruity grape flavor.
You could also use half frozen banana to naturally cream up the texture — a smart trick that adds sweetness too.
How do I prevent ice crystals from forming?
One of the best ways to prevent ice crystals is to add a small amount of sugar or natural sweetener. Sugar lowers the freezing point of the liquid, which helps keep the ice pop texture smoother.
Other tips include:
- Blending thoroughly
- Not adding too much water
- Keeping your freezer temperature consistent
If you notice large ice crystals forming, it might mean the pops partially thawed and then refroze, so try to keep them deep in the freezer away from frequent door opening.
Do I need to strain the grape puree?
Straining is purely optional. If you like a smoother popsicle without pieces of grape skin or seeds, strain the mixture through a fine mesh sieve before freezing.
If you prefer more fiber, texture, and a slightly stronger grape flavor, you can leave the pulp in — this is a great way to maximize nutrition while keeping the prep even simpler.
Conclusion
Homemade grape ice pops are a simple, healthy, and delicious way to beat the summer heat. Bursting with natural sweetness and antioxidants, they’re a guilt-free frozen treat that both kids and adults can enjoy. You control exactly what goes into them — no artificial flavors, no artificial colors, and no mystery ingredients.
From classic grape to creative blends with yogurt, berries, or citrus, there’s no shortage of ways to customize your pops and keep snack time interesting. Making grape ice pops at home is a fun, affordable project that the whole family can participate in, and you’ll feel good knowing everyone is getting more real fruit into their day.
So grab some fresh grapes, dust off your blender, and start experimenting. Once you see how easy and delicious homemade popsicles can be, you might never buy store-bought again!
If you want more healthy snack ideas, you can explore resources like American Heart Association’s healthy snacks for further inspiration.
Enjoy your frosty, fruity creations — and stay cool!

Name: Grape Ice Pops
Ingredients
Equipment
Method
- Instructions:
- Wash the grapes thoroughly and remove stems.
- Add grapes, water, honey or maple syrup (if using), and lemon juice to a blender.
- Blend until smooth.
- (Optional) Strain the mixture through a fine mesh sieve for a smoother texture.
- Pour into popsicle molds, leaving a small gap at the top for expansion.
- Insert sticks and freeze for at least 4 hours or overnight until solid.
- To serve, run warm water over the outside of the molds to release the pops.